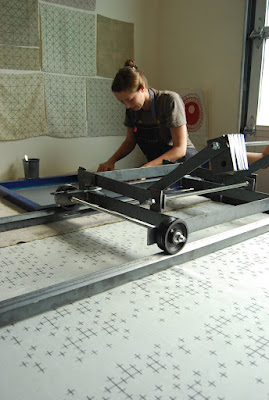
New Chikabird bleached hoodies and track jackets! We got inspired by our friend, Dave, who used this process. We just love how every print is different with subtle variations.
We'll be selling them at the LA & SF Renegade show!
The process is pretty simple, but the result looks more than ordinary. The possibility to play with layers makes it super fun. It's easy to do and the materials needed it is so minimal that you can literally do it in couple hours. Here's a step-by-step instruction, so you can try it, too!
Step 1: Make a stencil with waterproof sheet. We used a medium weight Mylar here.
Step 2: Mix 50/50 bleach & water in a spray bottle.

Step 3: Spray back of Mylar with light adhesive spray to keep stencil secure.
Step 4: Use a the mist setting on spray bottle and try to spray evenly over the areas you want to cover. Dab any extra residue on the surface with a rag.

Step 5: Wait and watch the magic happen! You can see the color change immediately. It's so much fun to watch.
Step 6: Peel off stencil when you've achieved the result you want. The time can vary since you can play with something really subtle with less time, or let it sit longer with more contrast.

Step 7: Wash it in the washing machine right after to set the bleach so it doesn't continue the bleaching process. Ta-da, you're done!!
The best part about this process is that you can really play around with the bleaching time, layering, and even different texture. I like to overlap the stencil so it just adds another layer of visual interest.
Oh and look!! It's Hammer pants! Get it?.....it's a Hammer...with pants??
That was a little funny accident where the fold was....

Have fun!
 Hello!
 Yes, this handsome dude in this photo will be appearing at the show with me. and this is a rare chance to see him in person modeling our track jackets. What a treat! These jackets will also be marked down at the show. So better get them soon!
 If anyone is around this weekend in Seattle, please come by and say hello and check out our exciting new line of notebooks and cardcases with


 This weekend we'll be at the first Summer

 AND our dear and super talented friend,


